My new camera, a Canon SX70 ($549) arrived on Monday. I have been out birding twice in the past two days in both perfect light, and the low light of a northern winter morning as the sun tries to peak above the horizon. This review of the Canon SX70 will be the first of several reports. I will use this post as a “table of contents” and will ultimately link those additional reviews directly below in the bulleted list
Last update to this blog post: August 19, 2022
The first question one might ask is why purchase a “super zoom / bridge” camera? Would not a DSLR camera be better? The answer as often in life is … it depends. My Canon SX70 has a much smaller sensor than a DSLR, but also is a much more compact package than a DSLR with a long telephoto lens. My life is an active one which has included over 10,000 miles of self supported bicycle touring in North America with my wife, and closer to home I am always hiking into the back country in search of wildlife. Lugging a tripod, large and heavy telephoto lens and camera along on these activities is not practical. A super zoom camera allows me to enjoy the outdoors away from my car.
The next logical question might be, why not this kind of camera for everyone. My new Canon SX70 has a 65x optical zoom lens, which is a 1365 mm full sized 35 mm camera equivalent. My SX70 has a much smaller sensor than a DSLR, which means less sensor area to capture light. Photography is all about light capture. If one’s sensor can not capture as much light during a standard unit time, then one must increase the number of time units the shutter is open. For wildlife, specifically birding photography, long exposures mean blurry photographs. Thus, what is the desired trade-off between sensor size and zoom cameras for an outdoor enthusiast like me?
I had owned my previous camera, the Canon SX60, for a little over four years. It was wearing out after having taken thousands and thousands of images. I gave considerable thought to the question I posed in the previous paragraph. Super zoom cameras now exist with significantly more reach than my 65x optical zoom. If 65x is good, would not 100x be better? The answer is not necessarily. The additional reach comes with image degradation. The laws of physics mean there is a practical limit to how much light a zoom lens can put down upon a sensor per unit time as the reach of the zoom lens is increased. For me 65x is a nice cross between reach and image quality. On days with decent light which allows me to use lower ISO settings, the super zoom cameras perform well.
Before moving on to my personal results with the SX70, Canon is showing major support for this new platform. They have now released a new “Software Developer’s Kit” for their EOS DSLR’s and SX70 cameras. Thus, the SX70 is Canon’s only non DSLR with this support, which will allow developers to accomplish neat tasks via the API.
Enough of my preamble … how is my Canon SX70 performing? The answer is I am very pleased. Remember cameras are now more computers than mechanical devices. My new SX70 keeps the 65x optical zoom, but has a new sensor and operating system at its core compared to my old Canon. These facts have also resulted in an increase of 16 to 20.3 megapixels (25% increase) which allows me increased resolution for my resulting images (better cropping options).
For my first two birding outings, my camera was configured in this manner:
- Digital zoom turned off (can always crop in post production which is essentially digital zoom)
- Spot focus (I quickly found letting the Canon SX70 pick the focus point did not work well. The camera often picked perches, or even the sky as the primary focus point, and not the bird’s eyes)
- ISO max limited to 400 ISO.
- Use of a monopod to stabilize photographs
- Aperture or Shutter Priority, never Auto mode. For birds which were perched or in low motion situations I used Aperture Mode. When I wanted flight shots, I switched to Shutter Priority. The camera set the ISO setting in both situations up to a maximum of 400 ISO. To have a shorter exposure time for flight times, the camera would increase the ISO compared to Aperture Mode. Higher ISO means lesser image quality. However a blurred photograph of a bird on the wing is useless. I needed to let in more light. Increasing your ISO effectively increases the camera’s sensor sensitivity to light.
- Raw files turned off (allows one to take more images per second, and conserves battery power … useful in northern Minnesota where winters are cold)
- High Speed (14 frames per second) … Not Single Shot
Remember, you may click or press upon any image to view at full size and resolution. I was examining each of these photographs in this manner. I utilized minimal post processing. I tend to open image in “camera raw” (the jpf file, not the actual raw file). You may wish to read Tech Radar’s review of super zoom / bridge cameras.
First Birding Expedition: Snowy Owl and Red Tailed Hawk
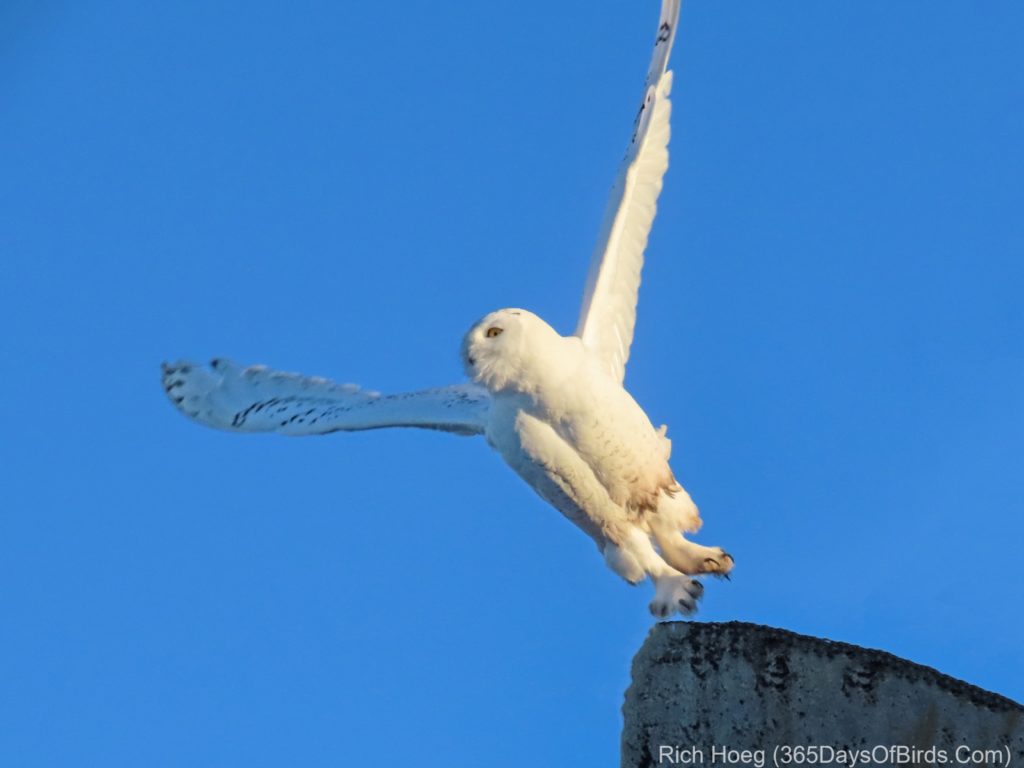
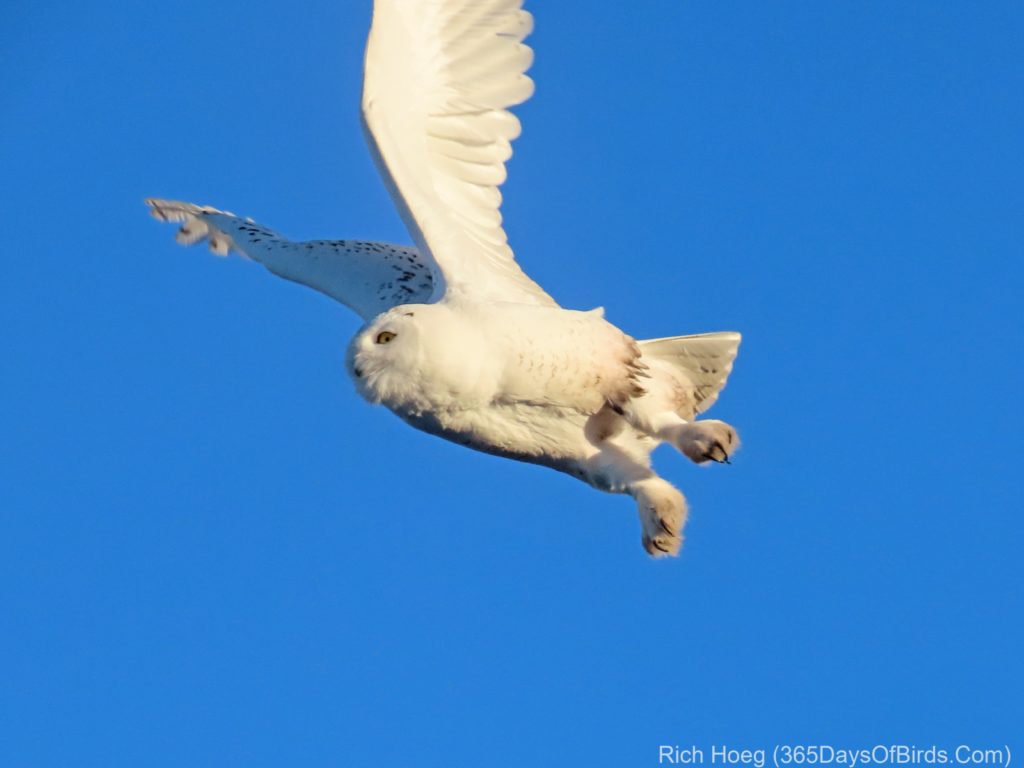
The lighting conditions were near perfect. I started taking photographs 75 minutes before sunset, and continued right up till sundown. I was extremely happy with my new camera’s results. Here are the images I kept alomg with the photo settings. Believe it or not, the flghts shots of the Snowy Owl were about the 10th to 15th photographs I ever took with my new SX70. Here is one more curious fact. I found two Snowy Owls and the Red-Tailed Hawk hunting within 500 yards of each other late Monday afternoon. I was amazed that there was never a fight between the raptors over the winter hunting territory. I suspect that battle is coming as catching prey proves more difficult later in the winter.
Snowy Owl: Settings: ISO = 200; Aperture = 5.6, Shutter = 1/1000th of a second
Shutter Priority … I was poised and waiting for the take-off
Snowy Owl: Settings: ISO = 200; Aperture = 5.6, Shutter = 1/1000th of a second
Shutter Priority
Snowy Owl: Settings: ISO = 100; Aperture = 5.6, Shutter = 1/640th of a second
Aperture Priority … fifteen minutes before sunset … beginning of golden sundown light
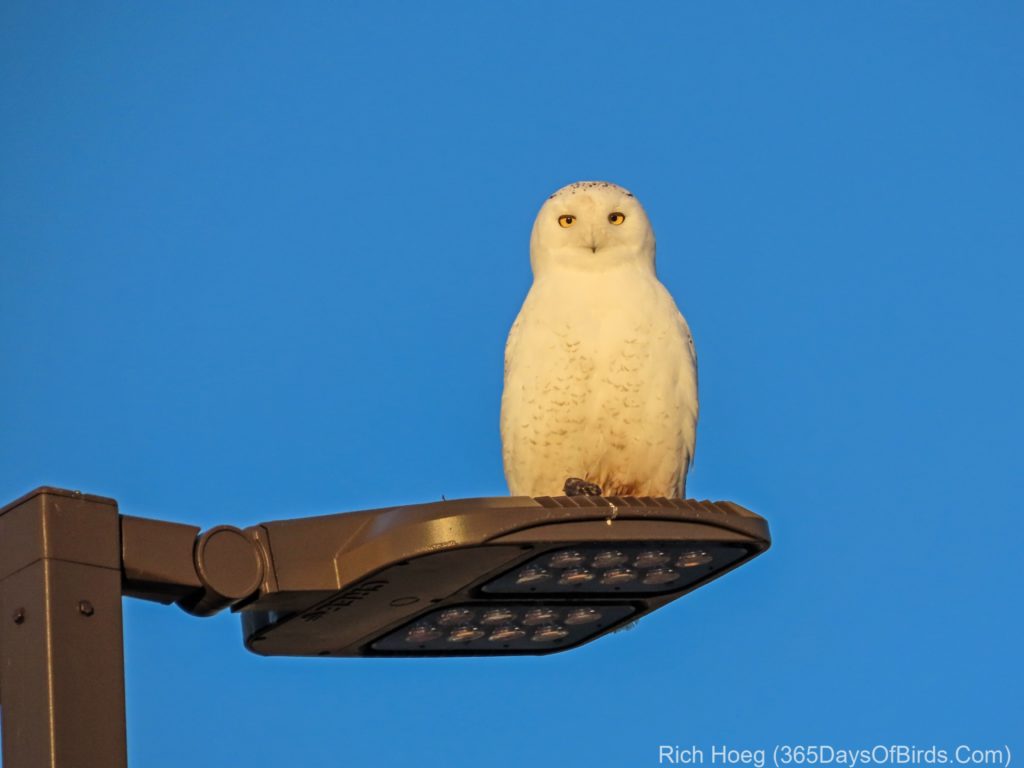
Snowy Owl: Settings: ISO = 125; Aperture = 5.6, Shutter = 1/320th of a second
Aperture Priority … minutes before sunset … golden sundown light
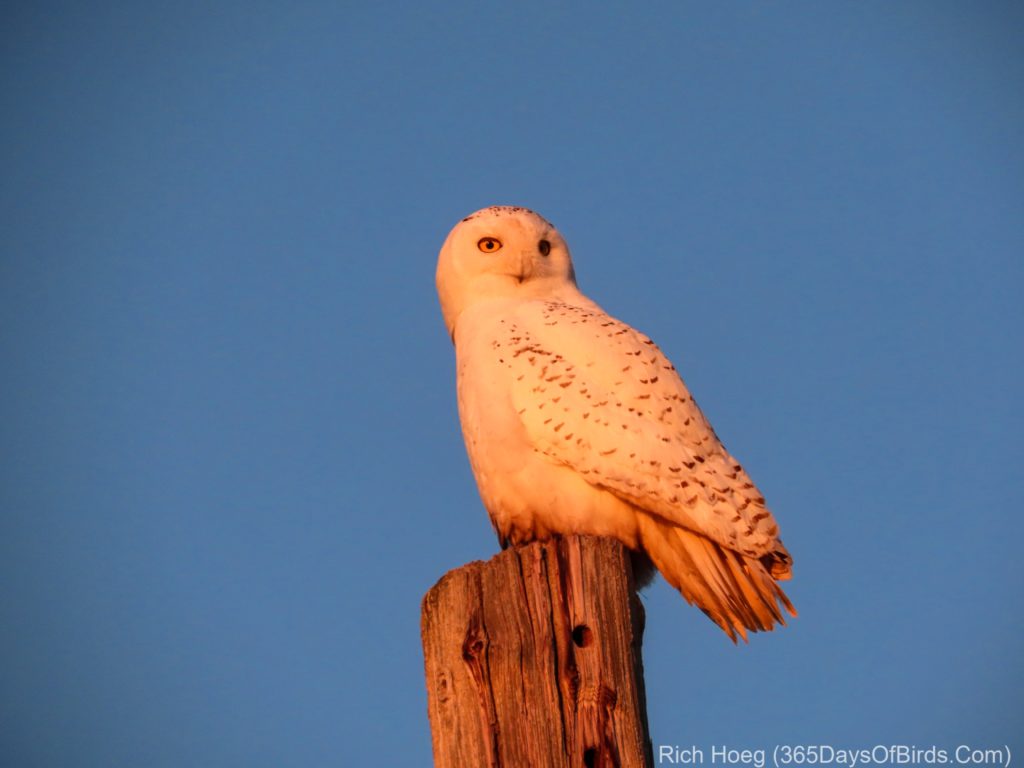
Red-Tailed Hawk: Settings: ISO = 100; Aperture = 6.3, Shutter = 1/500th of a second
Aperture Priority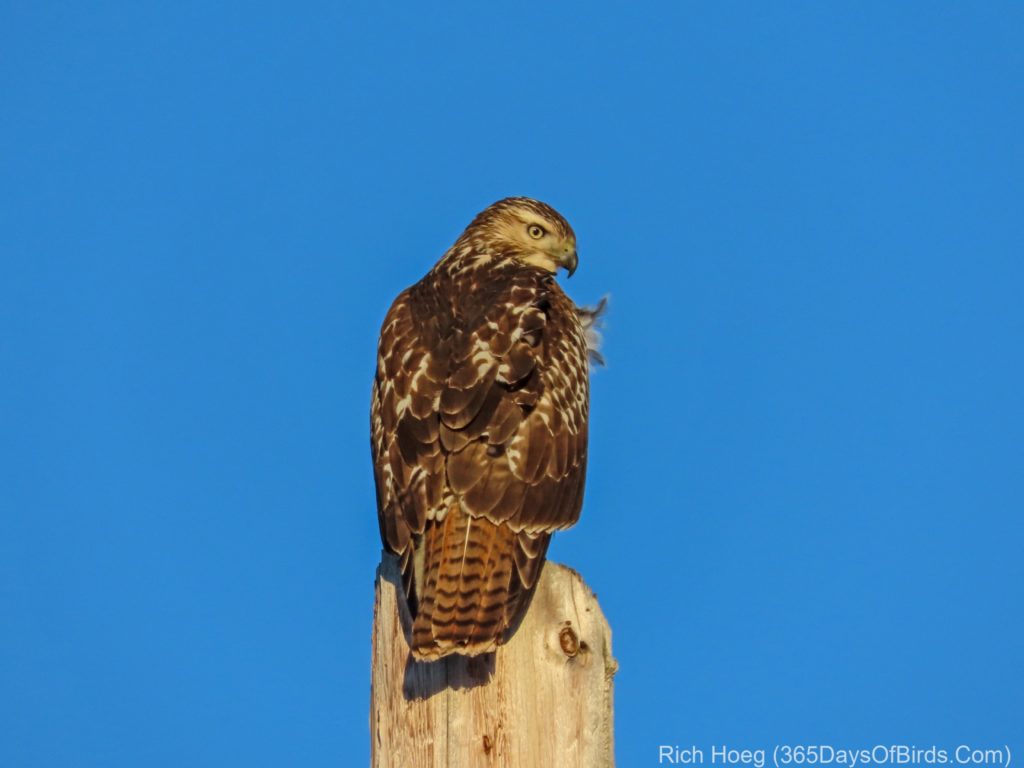
Second Birding Expedition: Spruce Grouse in the Superior National Forest
Unlike my outing with the Snowy Owls the prior evening, lighting was subdued. I found the Spruce Grouse just a few minutes after sunrise. Here in northern Minnesota, the sun does not get very high in the sky in mid December. Thus, from a practical vantage point, the sun was still down. I could not even see the golden orb through the trees, and although I had clear skies, the sun would not pop above the Boreal pines till almost 90 minutes after I photographed the grouse.
Once again, here are my images. Please note I quickly manually changed the ISO level to 800 ISO. This doubled the amount of light entering my camera. At the 400 ISO level the shutter speed was just too long. Please note I threw out 90% of my photographs for being blurry. An exposure setting of 1/60th a second is normally way to long for bird photography. However, I made my choice of settings knowing this in advance. The SX70 allows one to take 14 images per second. The beauty of digital photography is one does not mind taking significantly more images than needed to “get the shot”. I was quite pleased with the ISO 800 Spruce Grouse images.
Spruce Grouse: Settings: ISO = 400; Aperture = 5.6, Shutter = 1/30th of a second
Aperture Priority … this image was not crisp enough … I next increased the ISO to 800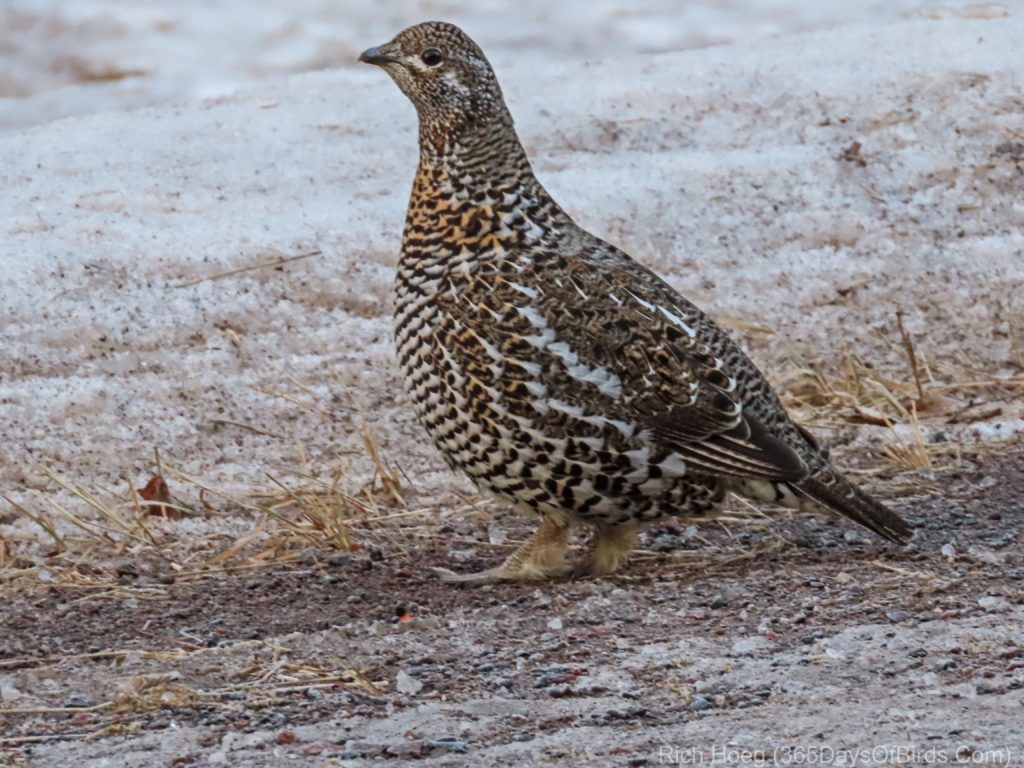
Spruce Grouse: Settings: ISO = 800; Aperture = 5.6, Shutter = 1/60th of a second
Aperture Priority … I was pleasantly surprised with the image quality at ISO 800, which also allowed me to halve the shutter time (i.e. twice as fast)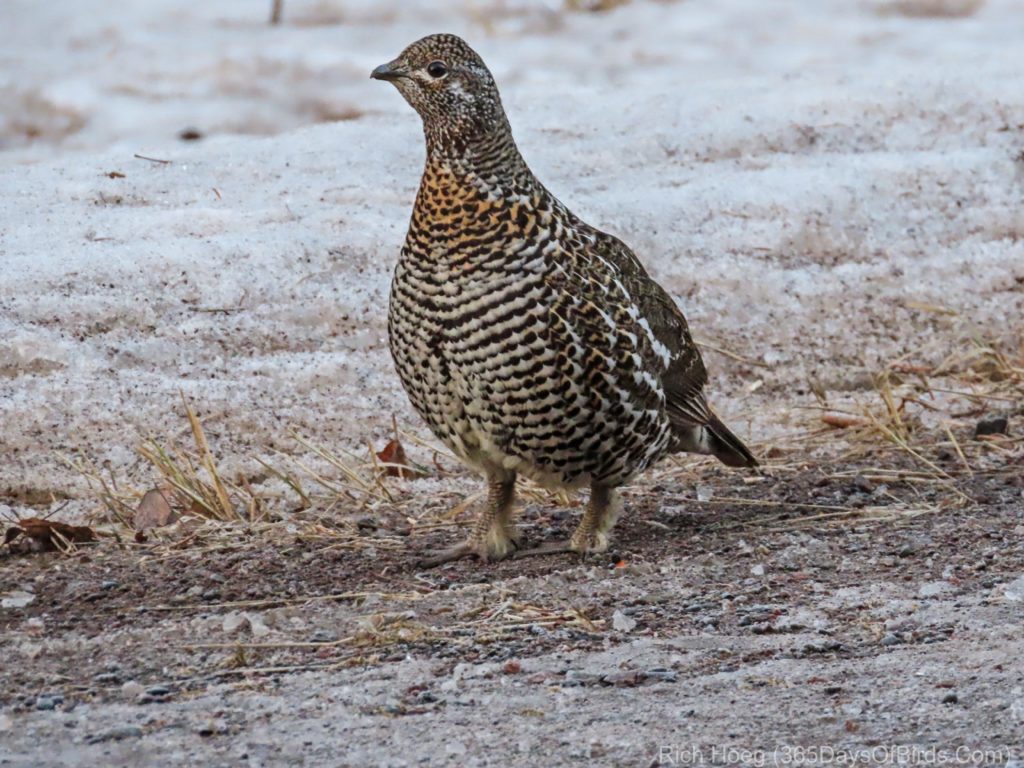
Spruce Grouse: Settings: ISO = 800; Aperture = 5.6, Shutter = 1/60th of a second
Aperture Priority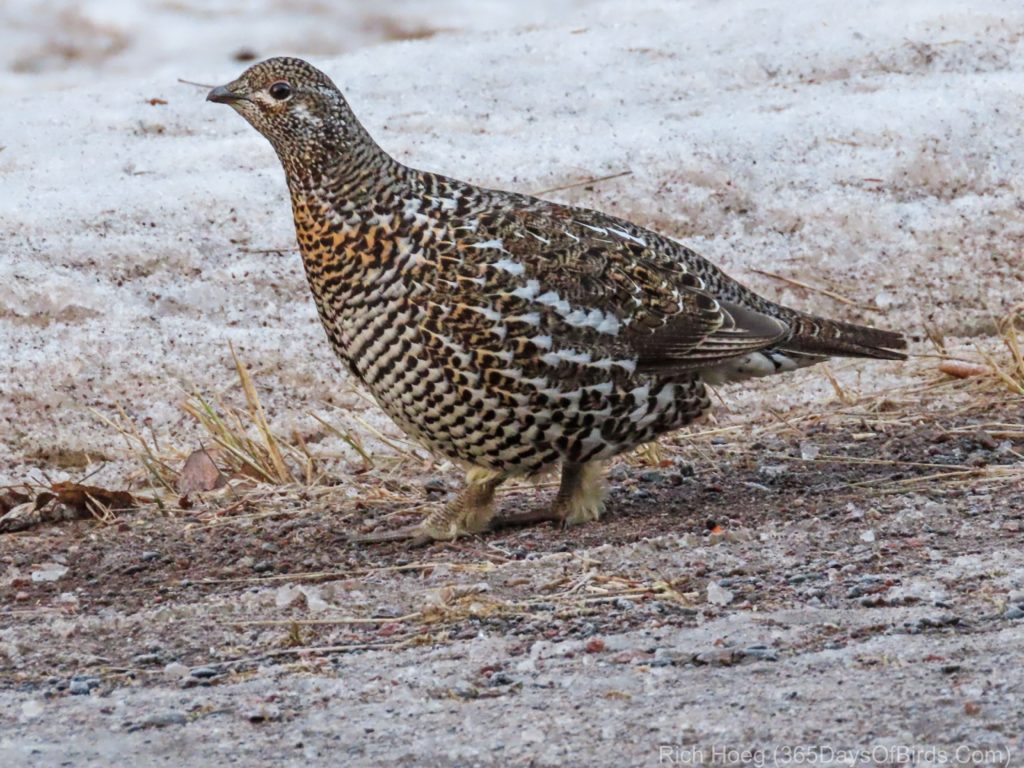
Camera Buttons and Controls
With respect to these items, all I can say is I have never met a camera menuing system I really liked. I don’t think Canon has any software usability experts on their staff. I can’t really say the menus are intuitive, but then I have the same complaint about my Sony A6000. With any new camera, one must just “grin and bear it”. Eventually one will learn where various menu commands reside.
I did take one landscape of sunrise over Greenwood Lake. As I knew the sky conditions would change fast, I do not consider my image a test. I did quickly force the ISO to 100, use a monopod and a 2 second delay for the image.
Conclusion: So far … so good. I like the Canon SX70. As noted I will be continuing this evaluation process. As with any zoom camera, it is good to understand the limitations of this genre of camera. However, this newer model compared to my old SX60 does seem to have better image quality … particularly in the low light arena (ISO 800 test).
Sunrise Over Greenwood Lake
Slight Zoom … ISO 100, Aperture 8.0, Exposure 1/40th of a second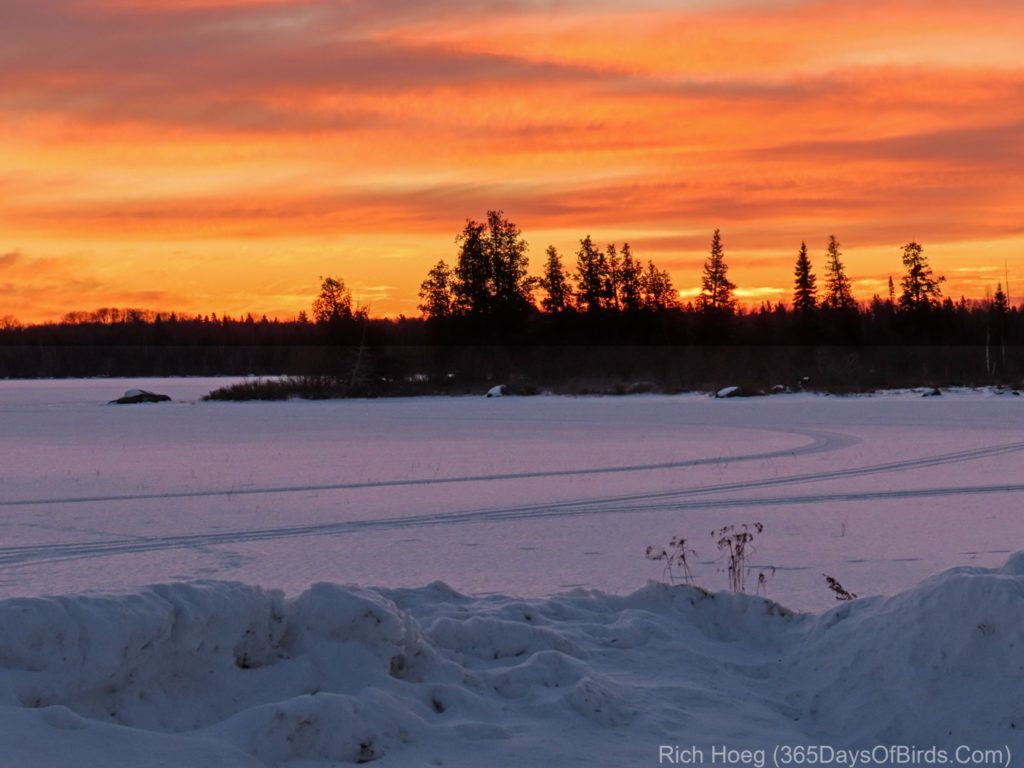
One more sunrise image, but taken with my Sony A6000 …
Two Harbors Highlands Railroad Tracks Sunrise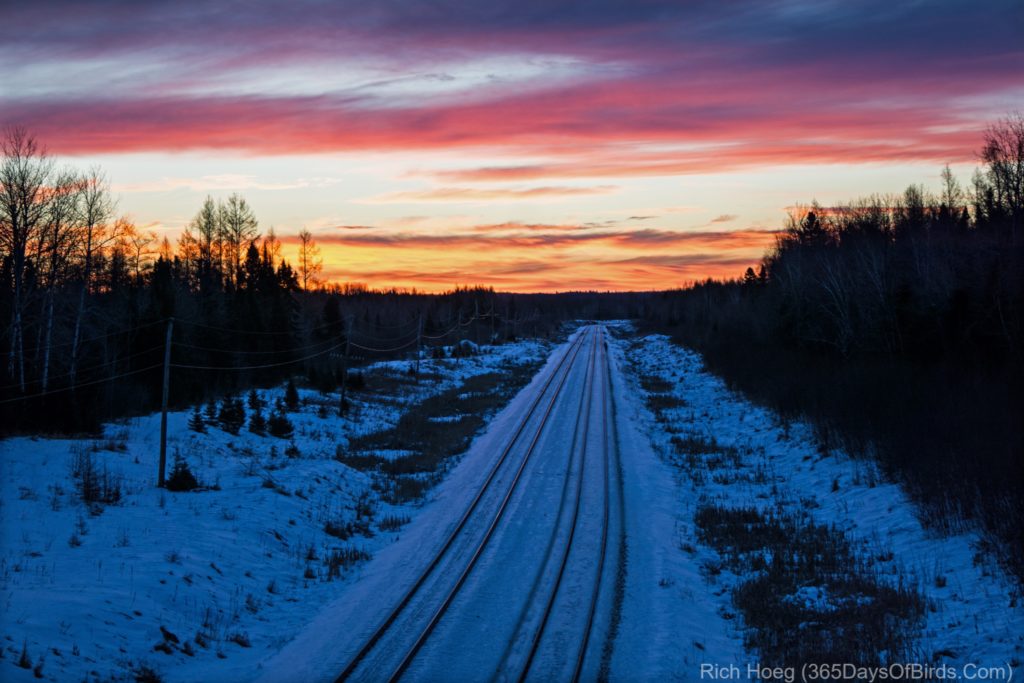
Auto-Focus Issue in extremely light reflective situations …
Added on January 26th
Two days ago I discovered an auto focusing issue which appears to happen in very bright light situations. In my case, while photographing a Snowy Owl, even though I had good light (extremely light clouds with reflective light off newly fallen snow). I was using Aperture Priority with the sun pretty much behind me. My ISO was set at 100, and the camera picked a 1/1500 shutter speed. I noticed that I was having difficulty getting a focus lock. At first I thought the issue was white on white (Snowy Owl on fresh snow). I did manage to get some good photos, but also a lot of garbage shots.
Later in the afternoon I visited a Bobcat den I have been watching. Once again I started to have focus lock issues (aperture priority once again). The combination of new snow, and a reflective shed wall was fooling my camera. This time I wondered if that was the case, switched to full manual … halved the shutter speed and kept the ISO at 100 and the aperture as low as possible. Immediately my auto focus problem was solved.
I now suspect that in any highly reflective high light situation I will need to make certain I am in full manual mode … no big deal for me, but for the more casual user it could ruin a lot of images (i.e. they will rarely use, if ever, manual mode). I expect in the summer while out on any of Minnesota’s 15,000 lakes the problem will reoccur. One again, for me it will be a non issue as I am now prepared.
