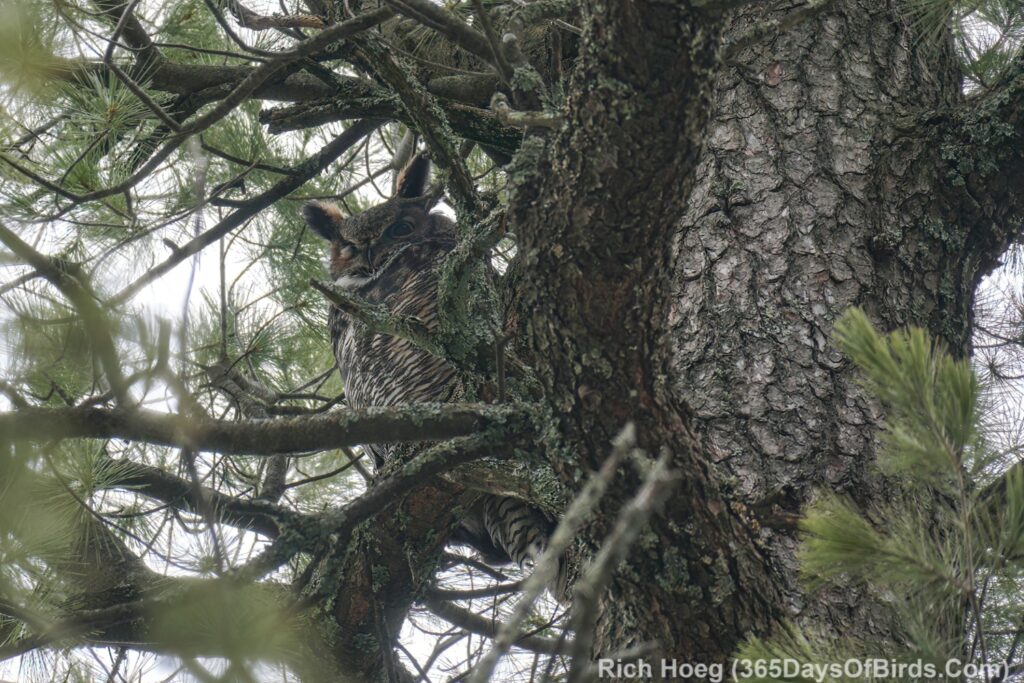
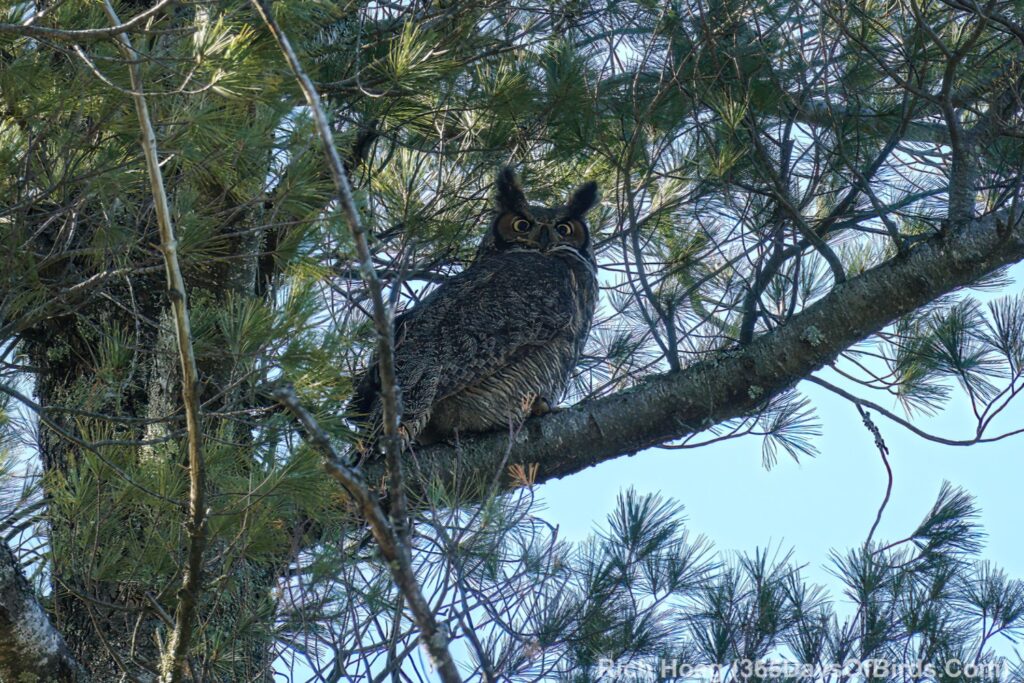
Back in 2012 we had a similar flood, and I lost ten yards at the end of my driveway. Thankfully my house is way elevated above my garage and driveway. As I mentioned in yesterday’s post, the rains have come to the Duluth area. This morning I walked over to The Deeps (location of today’s images) which is only 200 yards from my yard. This basic location is also where my owls, including FuzzBall, chose to live last winter. Hiking the trail on my side of the creek is now becoming a dangerous experience.
Videos: Amity Creek at the Deeps … Waaay out of its Banks
(still images below videos … see bottom of post for instructions on getting your free PDF copy of my children’s picture book about the Amity Owls: Do You Hoot?)
And a perspective from the Gazebo side of Amity Creek
Images of The Amity Creek Flood
I did NOT walk across this foot bridge. I used 7 Bridges Road to walk well upstream to use another bridge that was still 1 to 2 feet above the creek … crossed Amity … and then hiked down next to the stream.
Did I mention I was crazy enough to go out yesterday during the heavy rains to go birding? The Park Point Recreation Area was full of birds. The strong NE winds off the lake were pushing the bird migration, and the Park Point being at the western end of Lake Superior experienced a fallout of pushed birds … including this Peregrine Falcon which was hunting song birds.
Finally all the storms coming in off the Atlantic Ocean and the Gulf of Mexico had pushed this “pink visitor” to the Duluth Harbor!
New visitors to my blog may not know anyone may download a free PDF copy of my children’s picture book about the Amity Owls. Browse to this page to get your copy.
Join 1,000’s of other folks and subscribe to this blog, 365 Days of Birds. Please notice you will never find an advertisement or pop-up on this blog. I make this effort to blog because I love my hometown and region.
I am upping my “trailcam” capabilities … via a security cam! I kept looking for a trailcam with decent resolution, powered by an electrical power cord (not batteries … our cold northern Minnesota weather meant I was always changing batteries), and that hooks up to my wifi network which thus permits me to monitor / control via an app. I never could find this kind of trailcam. The key was to stop searching on “trailcams” and search on “security cameras”. I purchased the DEKCO Outdoor Security Camera for $65. For reasons that will be apparent later in this review. I also needed to buy an outdoor 40 foot extension cord that splits into three receptacles, and two 256MB Samsung Micro SD Cards. My additional outlay was $61. The SD Cards allow the camera owner to run in local mode with no need to save data to the cloud.
As always with my posts, I purchased all the equipment with my own money, and received zero financial compensation for my review (or links to any vendors).
Overview: I like my new DEKCO Security / TrailCam. It is performing 100% as desired and there is no monthly security service charge if you record in “local mode”. Setup was not too difficult, but other than the “Quick Setup Guide”, the company has zero documentation and limited instructional YouTube videos. By trial and error I learned about the camera app’s menus and what those command options accomplished. A detailed downloadable PDF manual from DEKCO’s web site would have been helpful. However, their customer service was reachable by phone and responsive. If you only run the cameras in local mode there is no monthly service fee. Local mode does NOT prevent the owner from accessing their cameras via local wifi and the internet. The fee is for cloud storage (if desired) of camera data.
DEKCO seems to be a rather new company. Their web presence including both the Google and Apple App stores is not robust. Given I am only using their cameras in the local mode, their weak online presence does not affect me.
Detailed Review: I will add a second blog post to this review within the next few days with actual videos taken over the past few days by my DEKCO Security camera. However, the videos exceed in quality anything taken by my earlier trailcams. For the purpose of this post and review, one video may be found immediately after my physical setup photographs.
Here is my physical camera setup. The two cameras (named Bird Feeder and Porch by me) are mounted on either side of my Haikubox (read my review). The setup is just outside of my living room and 20 yards from my home router. Everything is nailed down to a board which is attached by two bungee cords to a bench. Thus, as desired I may move this equipment around.
Having an open field of view is important as the cameras sense motion and track almost 360 degrees. In my setup the cameras track about 180 degrees each. The Porch Camera quickly sees anything which comes up the stairs / hill to our house. In the winter, many animals utilize the shoveled walks! The Bird Feeder Camera points towards my platform feeder which is a favorite spot for mammals and birds. Obviously I may eventually make my physical setup more permanent and hide the cords. As everything is rated for the outdoors, I have no concerns in that arena about weather.
Post Update in January 2024: I still am impressed with these cameras, but I discovered that the cameras could not be anywhere near the roof of my house. Leaves and Snow falling / blowing off the roof constantly activated the motion detection and started the video recording feature even on calm nights.
White-Tailed Buck Video (video link for blog email subscribers)
During my first few days of operation, I captured many, many times at night videos of Raccoons, Foxes, Deer and Skunks. Video quality is good. As noted I will post some examples of those captures in a second post (will link here)
From this point on in my review, all the screenshots were taken an by me from within the DEKCO Android App and annotated by me on my PC … normally in red.
01. DEKCO Mobile App StartUp Primary Screen
This is what a user sees upon starting up the app. I have two DEKCO cameras which I named Bird Feeder and Porch.
02. DEKCO Mobile App Primary Settings
Having accessed the primary menu for the app (three horizonal lines as shown in prior image), here is a screenshot of the app’s primary settings. Individual cameras have settings unique to each device. One does not spend much time with the overall app settings.
03. DEKCO Mobile App Individual Camera Settings
Here is where the rubber meets the road … configuring individual cameras via their settings cog / icon / menus.
3A: Device or Unique Camera Settings
Continuing my example of the camera “Bird Feeder”, you are able to see the available settings uniquely available for EACH camera.
3B: Motion Detection
I wanted my cameras to recognize more than just humans, and I definitely wanted to track motion (very important for recognizing mammals at night). You may see how I configured each of my cameras for motion detection including sensitivity. I found that my “Porch Camera” at higher sensitivity was too close to the underbrush and during daylight hours registered the motion of the leaves.
3C: Notifications
This setting does not seem to make much difference assuming you are not tracking only humans. Decide how often you want your notifications (immediate or daily).
3D: Local Recording Mode
Either setting works fine. I selected “Record by Event” as DEKCO claims this extends the life of the camera.
3E: Video / Audio Mode
I ended up ultimately setting my cameras up for “Smooth Mode” … more bandwidth friendly and the video quality was still excellent.
3F: Share Device
You are able to share your cameras … only to a specific email account, not to the world.
3G: WiFi Signal Strength
The app comments that a signal strength over 50% is required for effective operation … no problem for me at 88%.
04. DEKCO Mobile App Individual Camera Settings Sleep Mode
I ended up having my devices sleep 1.5 hours after sunrise but wake up 1.5 hours before sunset. Motion detection was so sensitive that in the daytime there were more events than I desired … primarily gray squirrels and blowing leaves. If one was only trying to recognize humans, I suspect I would not have this issue.
05. DEKCO Mobile App Individual Camera Events
Selecting “Events” is how you review videos from each camera. Pressing the “Download Icon” automatically downloads a video to a DEKCO video folder which will be created on your mobile device.
06. DEKCO Mobile App Individual Camera Direct Control
From anywhere connected online in the world, I may connect to these camera … wake them up if needed, and view the live stream as well as issue other commands.
The southern migration has started. The bug eating birds are exiting the Northwoods. No matter where you live in North America, it is possible to discover / learn what to expect in terms of the migration. For my purposes I am focusing upon northern Minnesota which equates to the Duluth area and St. Louis County. However, you can use the same approach for wherever you call home or are located.
BirdCast: Use this tool from the Cornell School of Ornithology (and others) on your computer or mobile device to learn what is happening in terms of migration over the next few days. Remember, a wind pushing birds in their desired direction, just like a tailwind on a bicycle, means more birds will be moving. We all like to use less energy to move the same distance. See my full review of BirdCast with annotated screenshots.
Here are two screenshots from BirdCast taken this Saturday morning, August 26th for the migration that occurred last night, and for two days hence when the winds will once again be out of the North for Duluth … located in St. Louis County, Minnesota.
I also mention HaikuBox may be used to figure out what is migrating. Read my full review of HaikuBox, but remember this small box identifies the birds singing in your yard in real time and saves that data. As I mentioned in my full review, anyone may obtain a free HaikuBox account for use on a computer or mobile device and view the data from public HaikuBoxes across the United States and Canada. (Link to my own HaikuBox Data Stream)
The way to use HaikuBox for migration information is easy. Use the map on their website (Listen.Haikubox.Com) and pick Haikuboxes north of your own location and bookmark them. At any time, you may then visit those Haikuboxes and discover what ACTUAL birds are visiting the geographic locations in question.
Thus, I have chosen and bookmarked for my purposes and account four Haikuboxes … one in Grand Marais, Minnesota … two on the Gunflint Trail … and one box on Lake Winnipeg.
A Screenshot of the HaikuBox Map for my Region
Using one’s free Haikubox Account … on a PC or Mobile Device … check what’s happening for a given period
One final item in closing out this post. In my full review I talk about how I had purchased my own HaikuBox. However, a college classmate of mine, Jim Ancona, who is also a techie and a retired software engineer built the equivalent of his own Haikubox … a Do It Yourself (DIY) project. The cost is less that what I spent, and the result is similar! Read how Jim built his own bird listening device:
Here is a screenshot from Jim’s area and his Birdsong Device.
Finally a special callout to another one of my buddies, and I am throwing the gauntlet down. Paul with your amazing Wood Duck Drop monitoring tech, I totally expect you to follow in Jim’s footsteps!